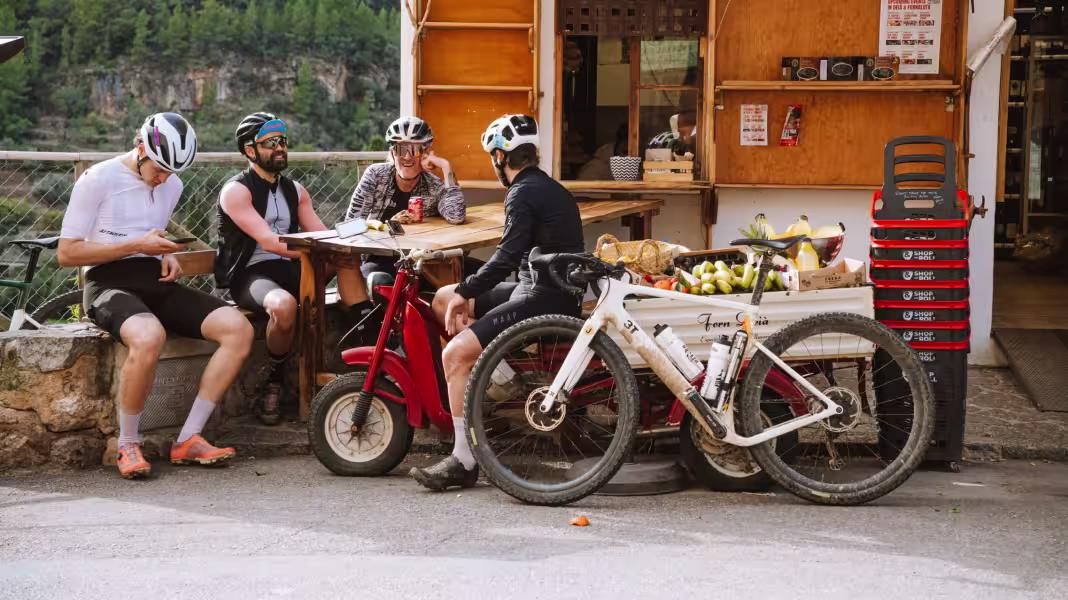
So how do you take good photos on cycling holidays? Because when you get home after the trip, great photos are an extra gift as a souvenir. There is a lot to learn and if you are really good (we are not), taking photos is a breeze. But if ej don't know how or what, you see all kinds of features on your phone, or on your camera and think: how then? We have briefly written down 5 tips that can help you take a nice, Instagram-worthy photo to make. One of those where everyone says: wow, how did you do that? So here our 5 tips to make a good cycling holiday photo to make!
1. Early up, late to bed
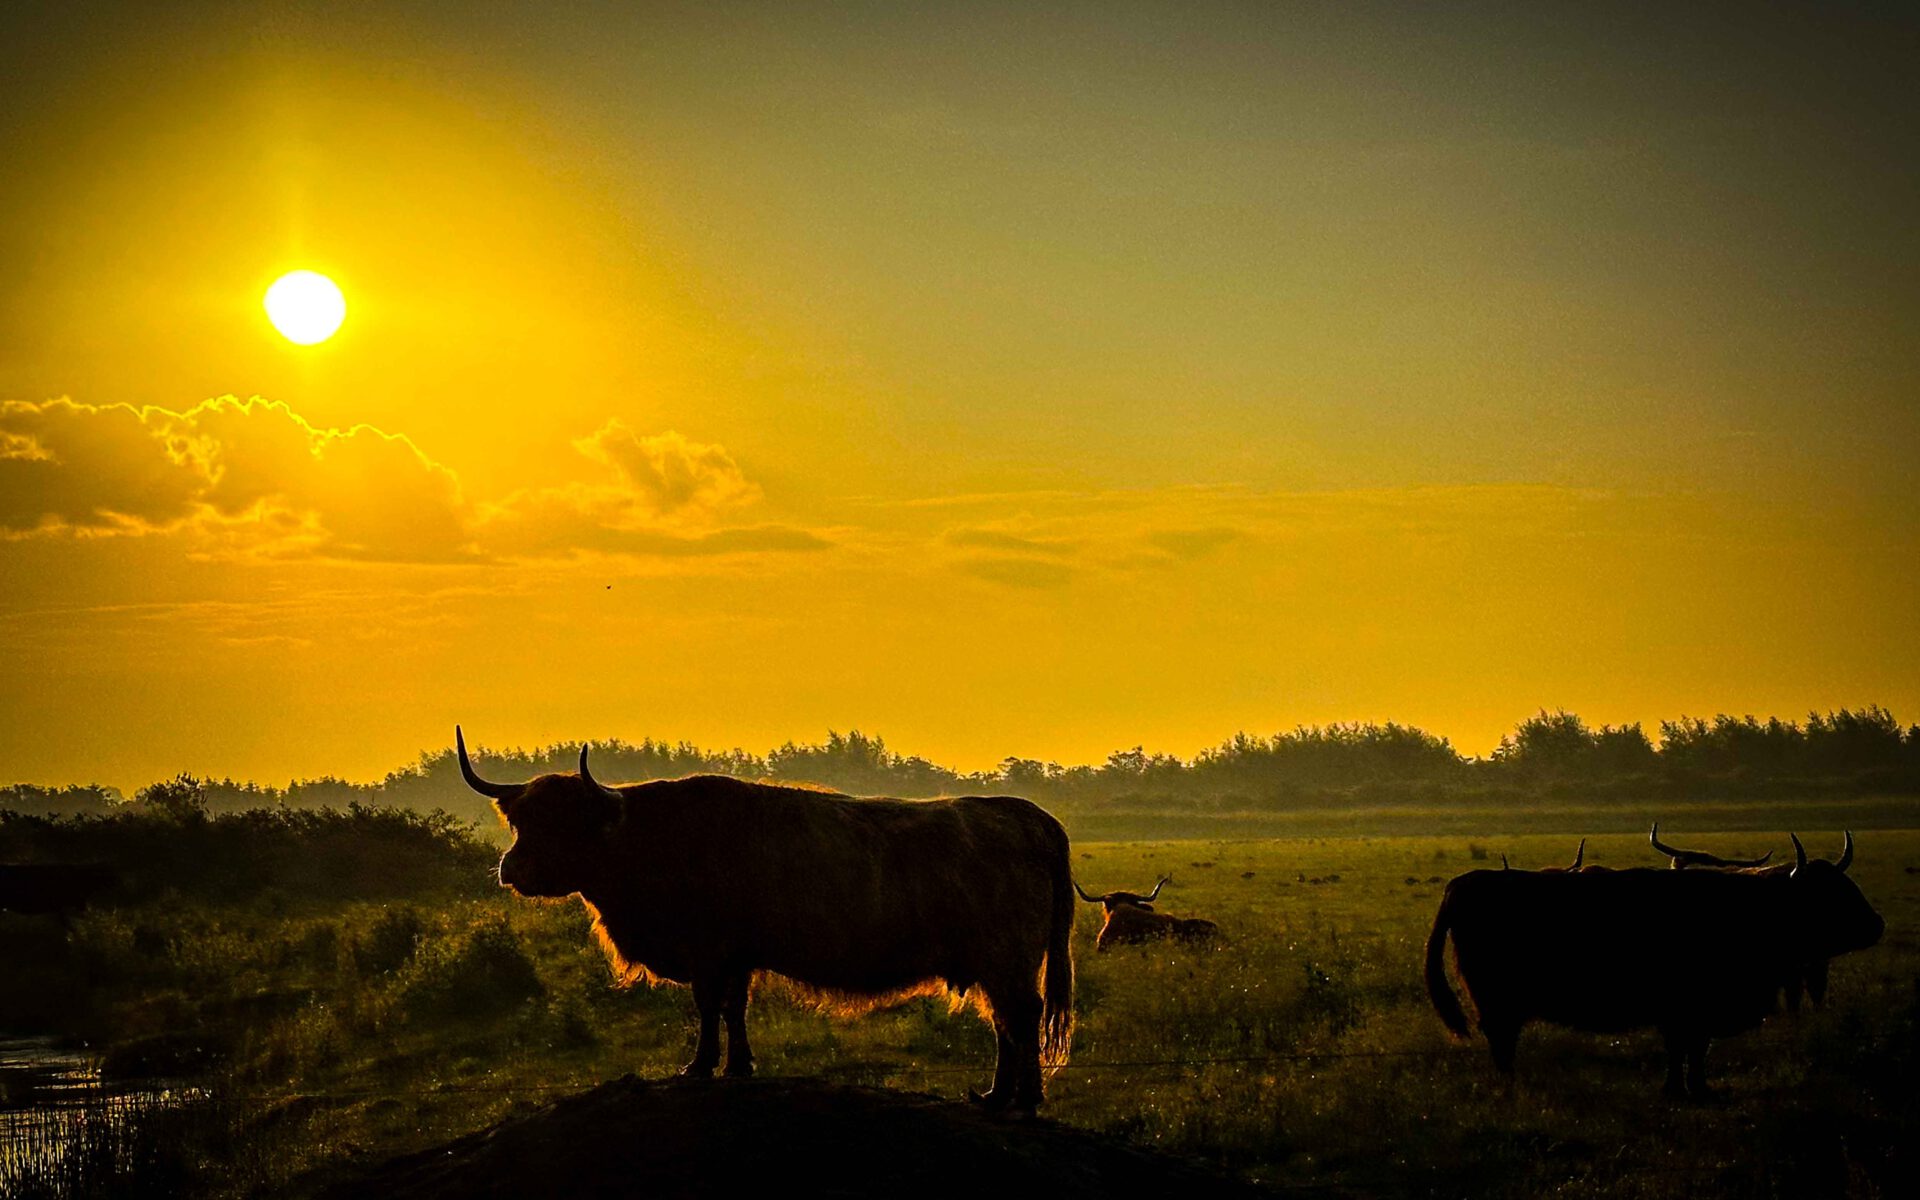
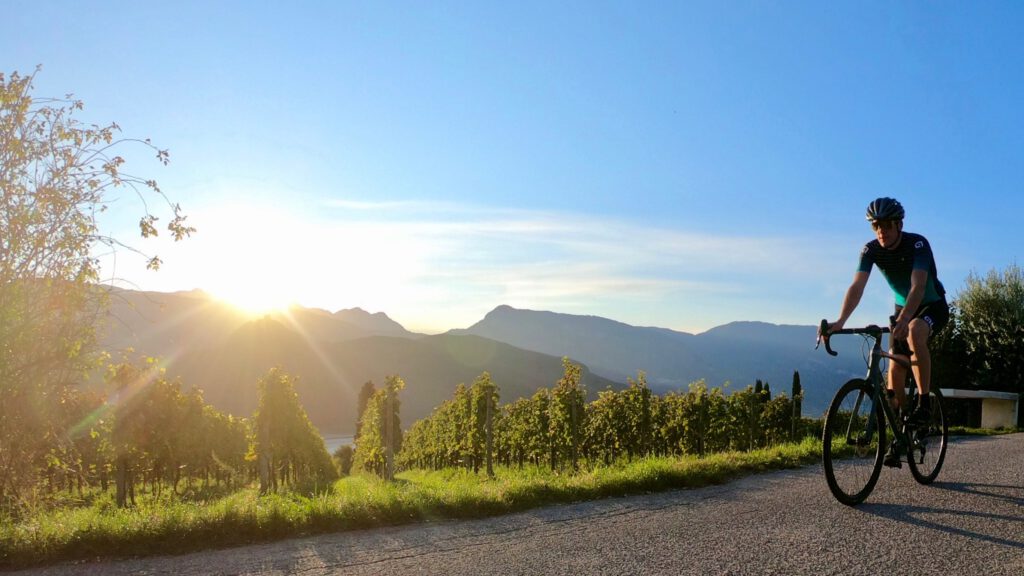
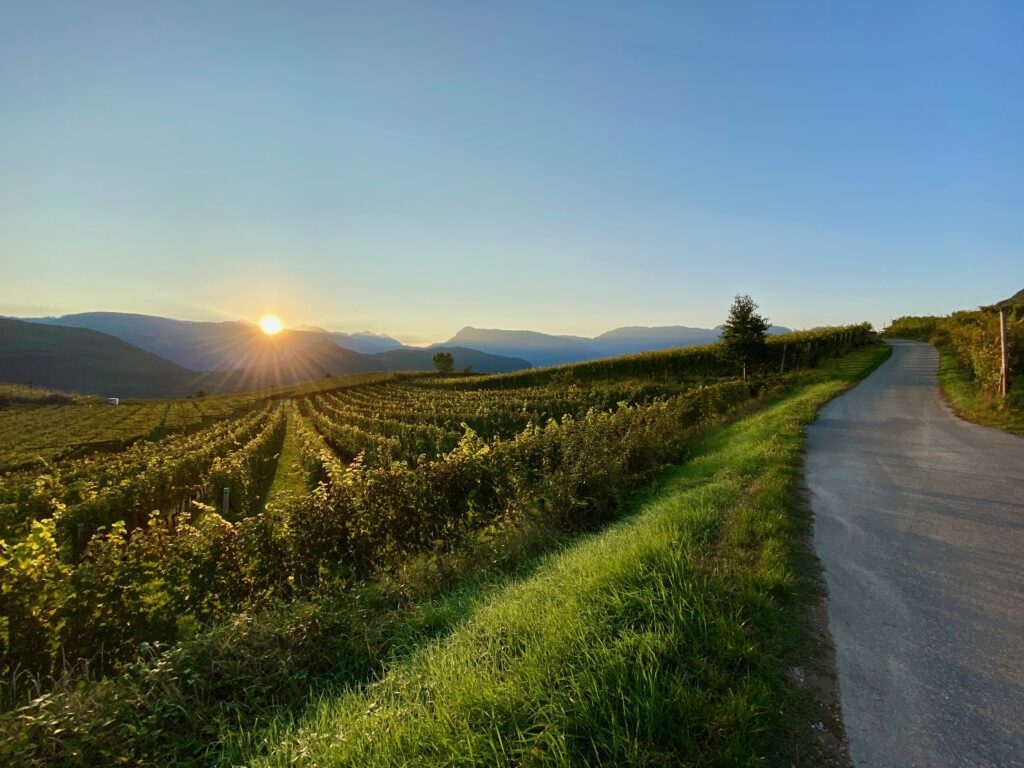
The best time in the day to take a photo is the 'golden hour'. In short, these are the edges of the day, where the sun rises and the sun sets. In the first or last hour (the golden hour), the light is less bright, much warmer and you can shoot those pictures you always have in magazines comes across. Especially on a bright summer day, this is a big tip, because otherwise you will get photos with very bright light. Cool in itself, but just less beautiful.
A tip anyway: you will have nicer pictures if a cloud passes by every now and then. Also looks nicer in photos than just a clear blue sky. The famous photographer Alain Rumpf added that as a tip.
2. Create depth in your photos
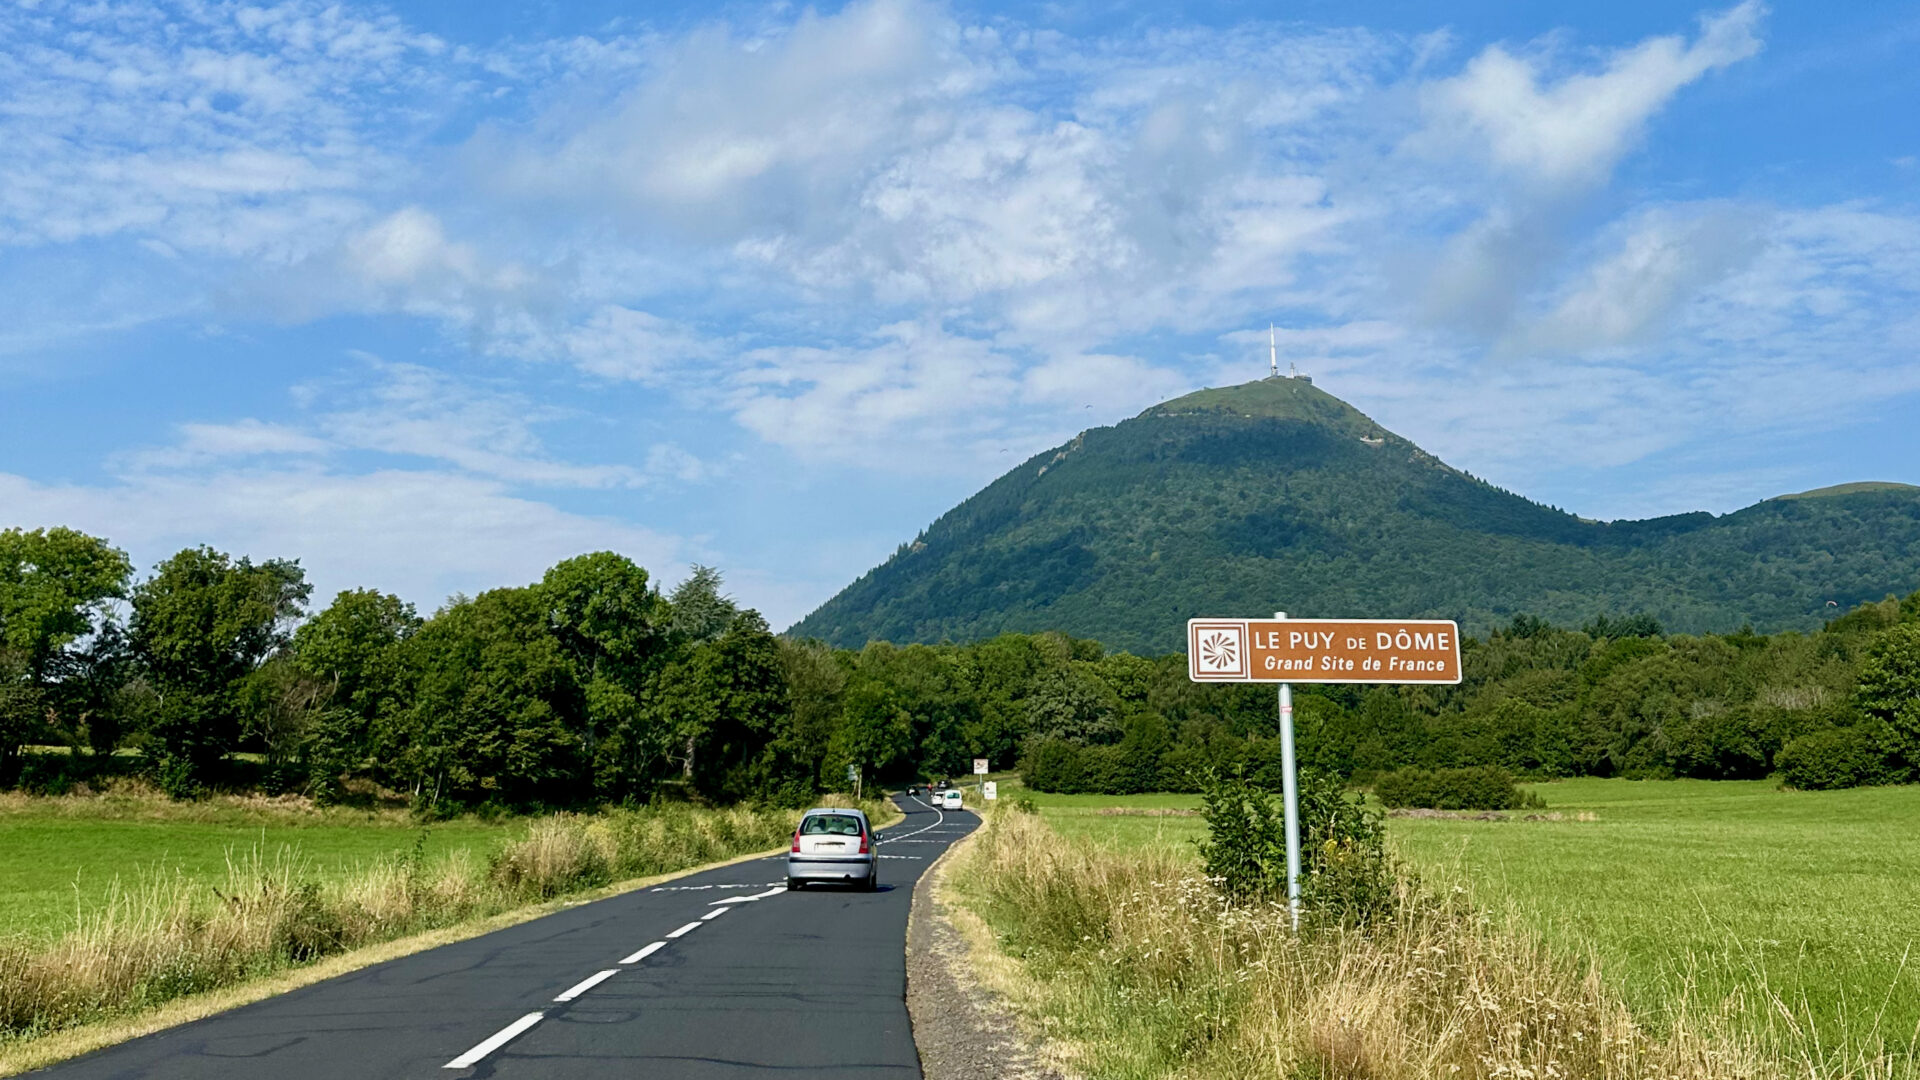
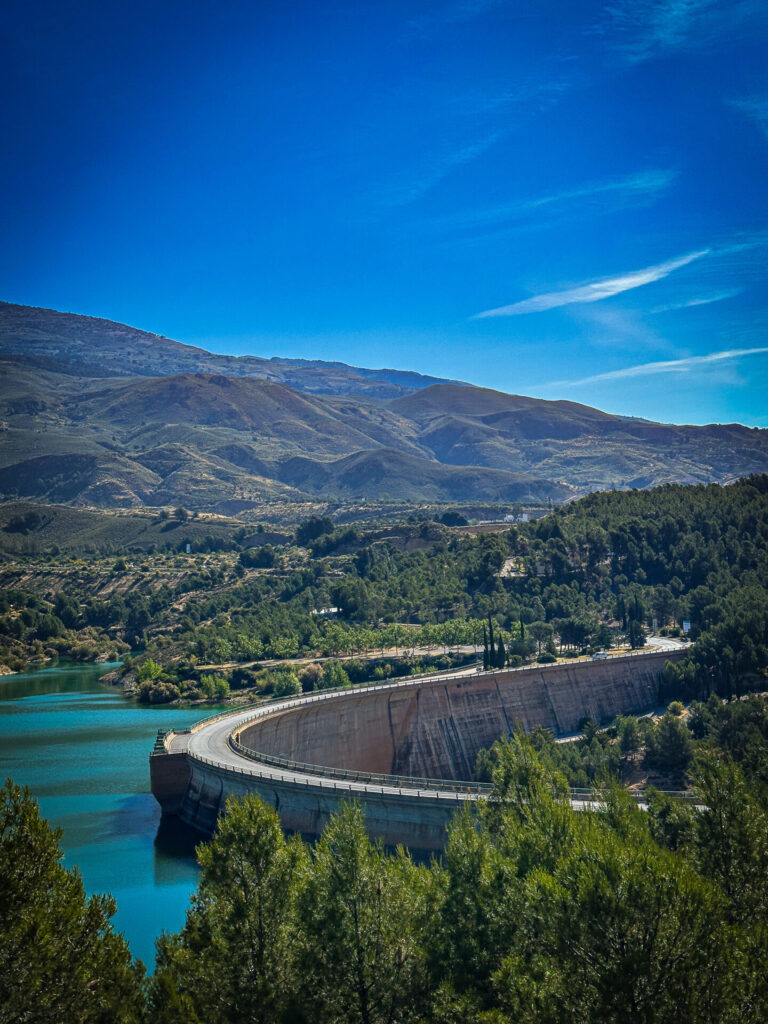
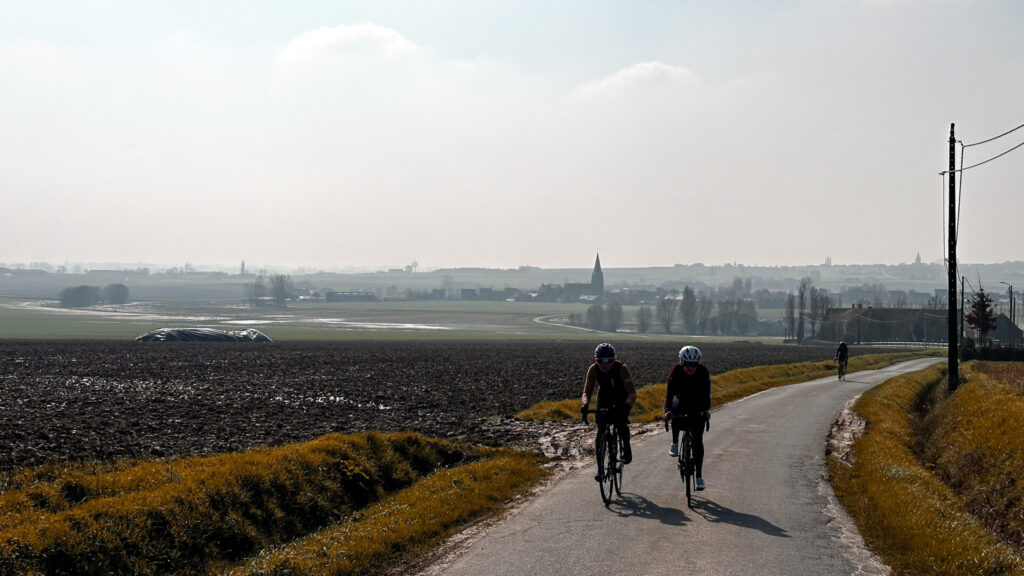
We often see photos coming by where you mainly see the person in the picture or, for example, photos of a beach with the sea. You have no idea how far it is from a to b, you lack depth in the photo. The simplest tip is: place something at the front of the photo, creating depth. This could be just picking up a piece of bush or placing a pole/sign in the frame, showing the sense of depth. See two examples below.
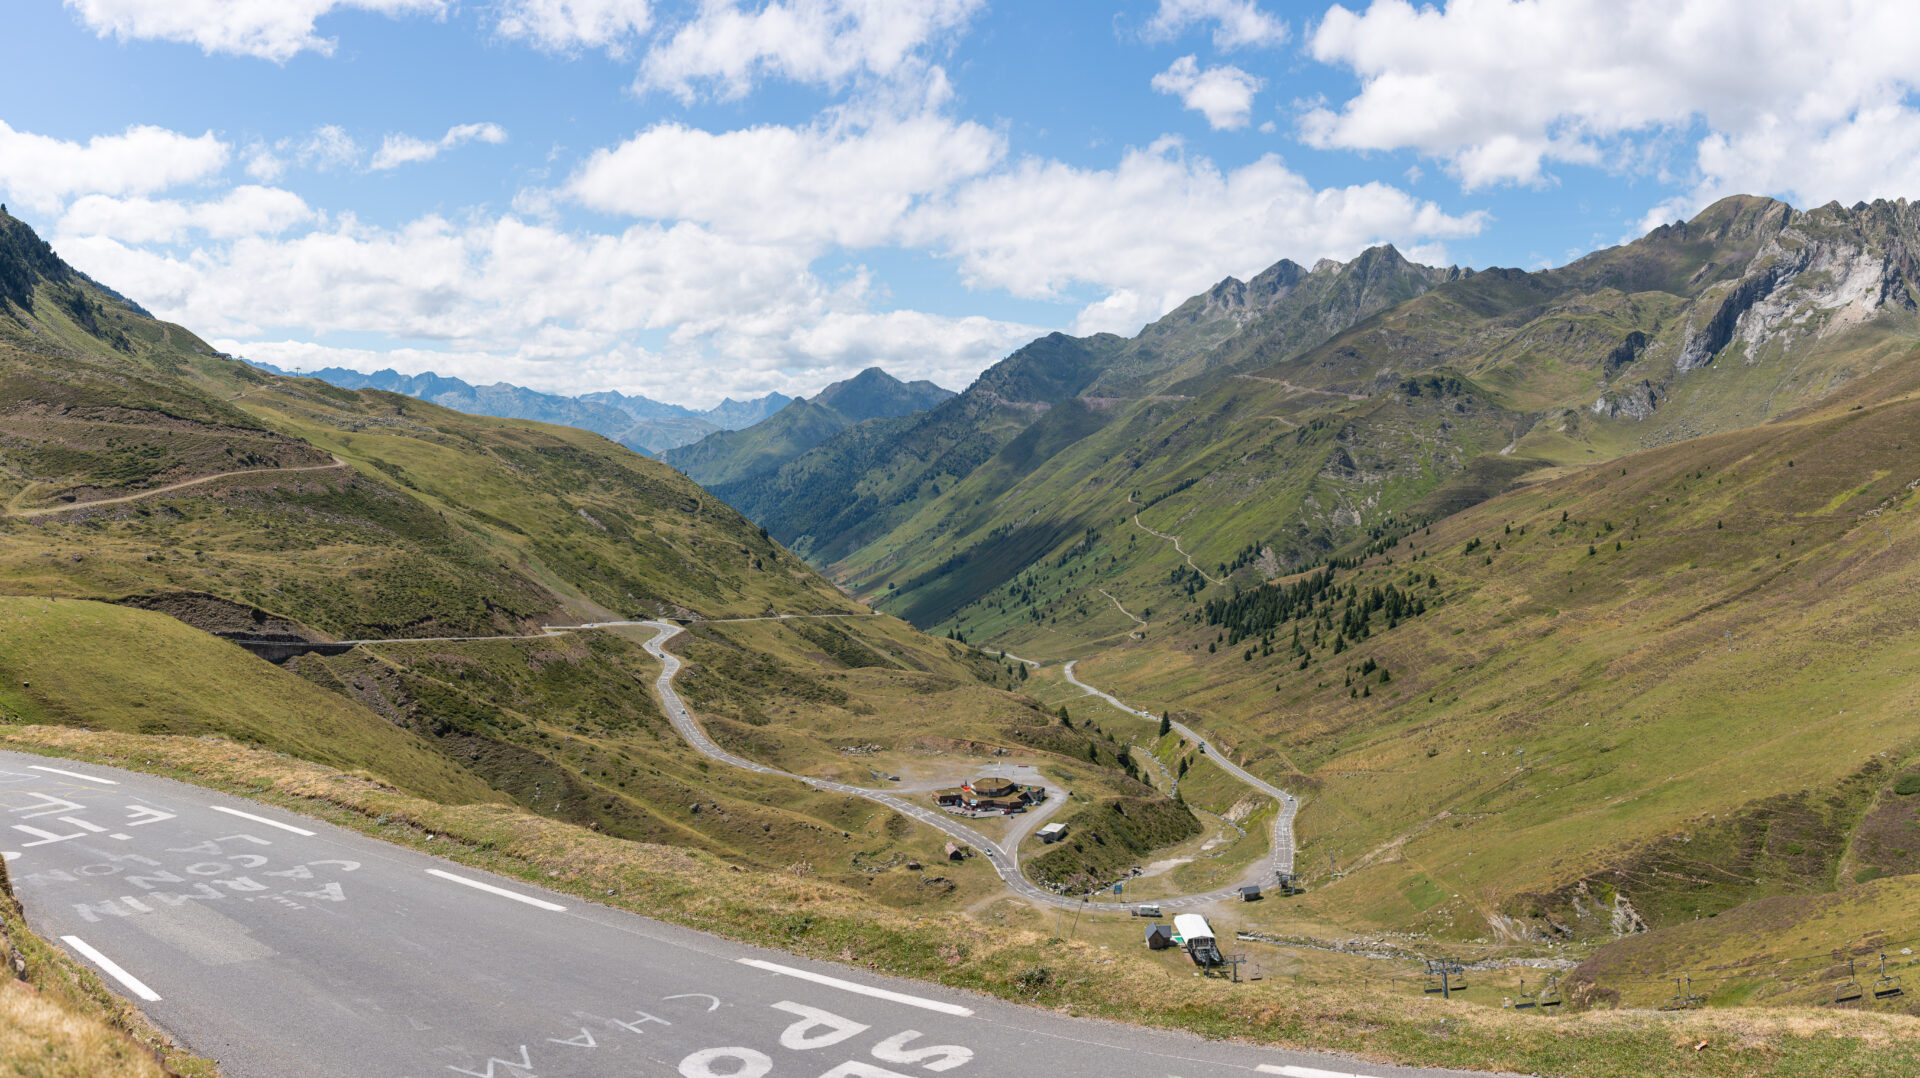
3. Perspective
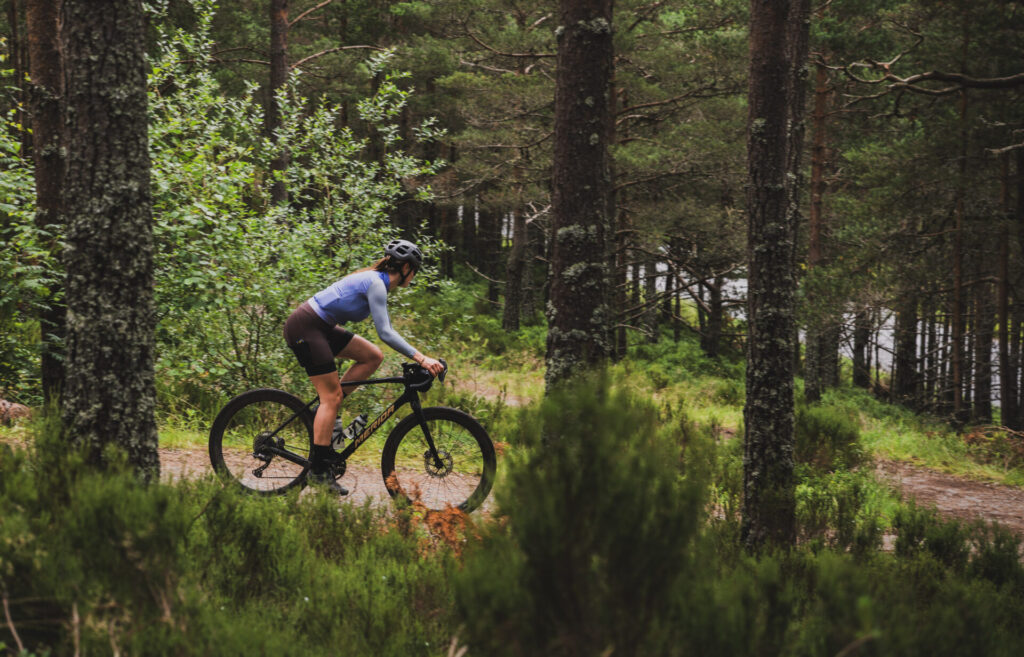
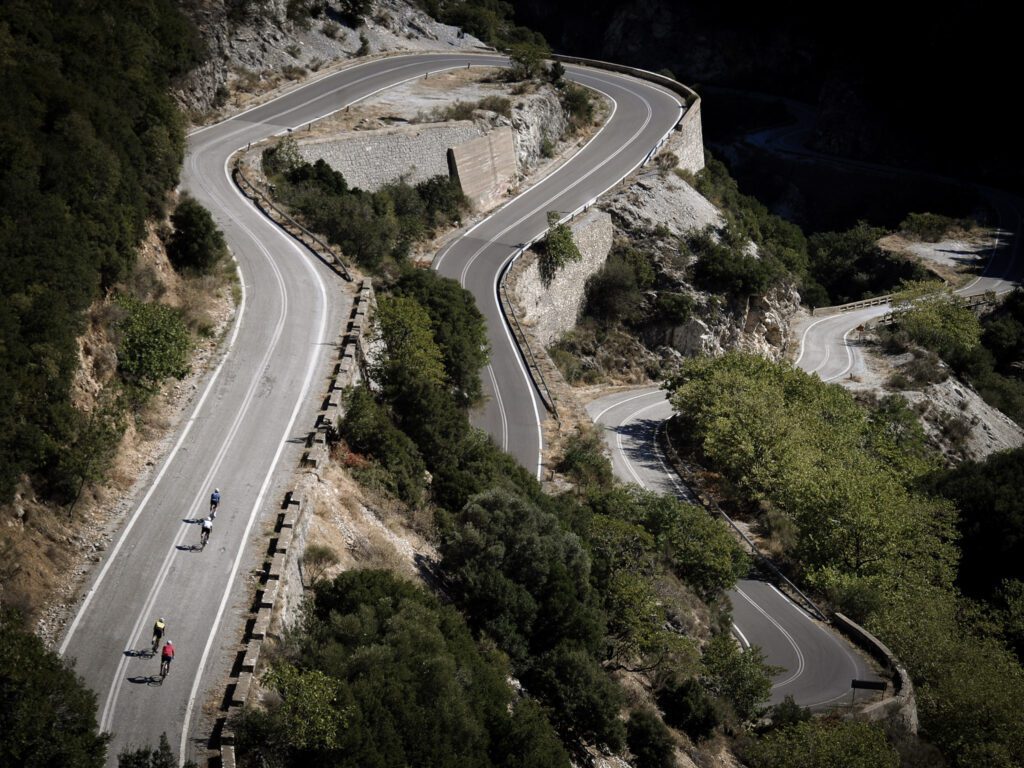
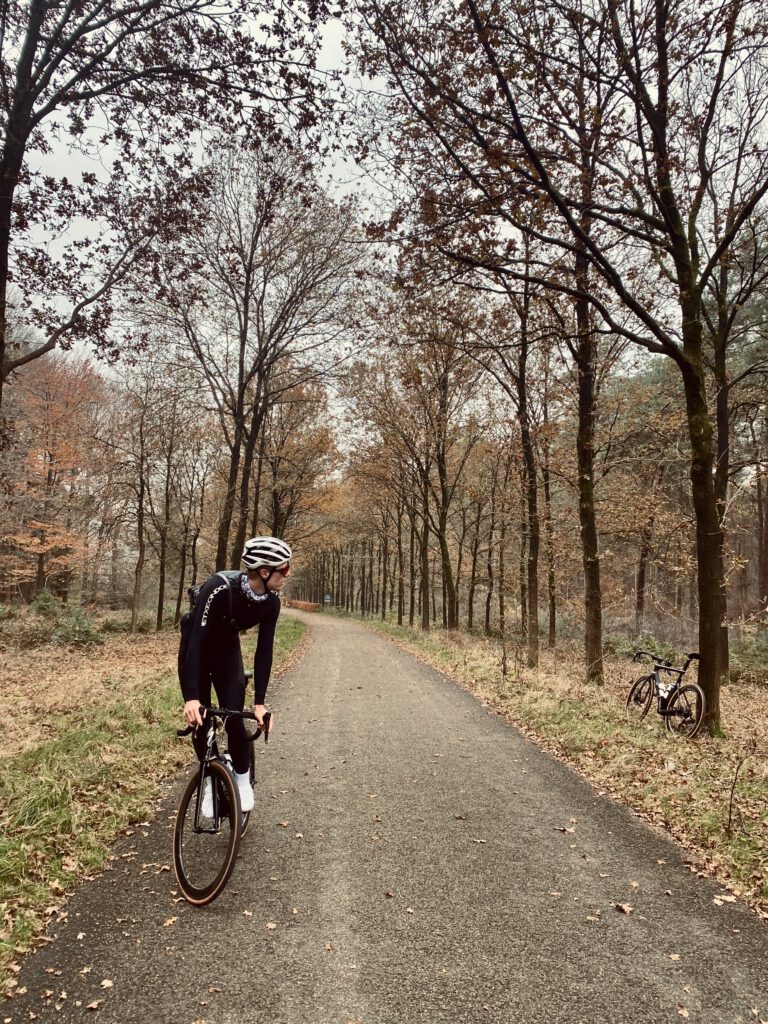
Perspective is very important. Of course, you can do any photo taking 'just standing'. But, for example, going through your knees or finding a spot just above the road will create a changed perspective and can turn a nice photo into a crazy one. Especially in the mountains, it can help to stand a little higher. Then you can also capture the background much better. Now let that often be the coolest thing you want to see. Take a look at these examples below. By just standing (or flying 😉 somewhere else, you get a much nicer image, than if you had just stayed at the same level.
This is also where equipment comes into play. You don't shoot these photos easily with a phone. You need a good camera: often with zoom lens, good wide angle or one that can handle a high iso value without getting grainy.
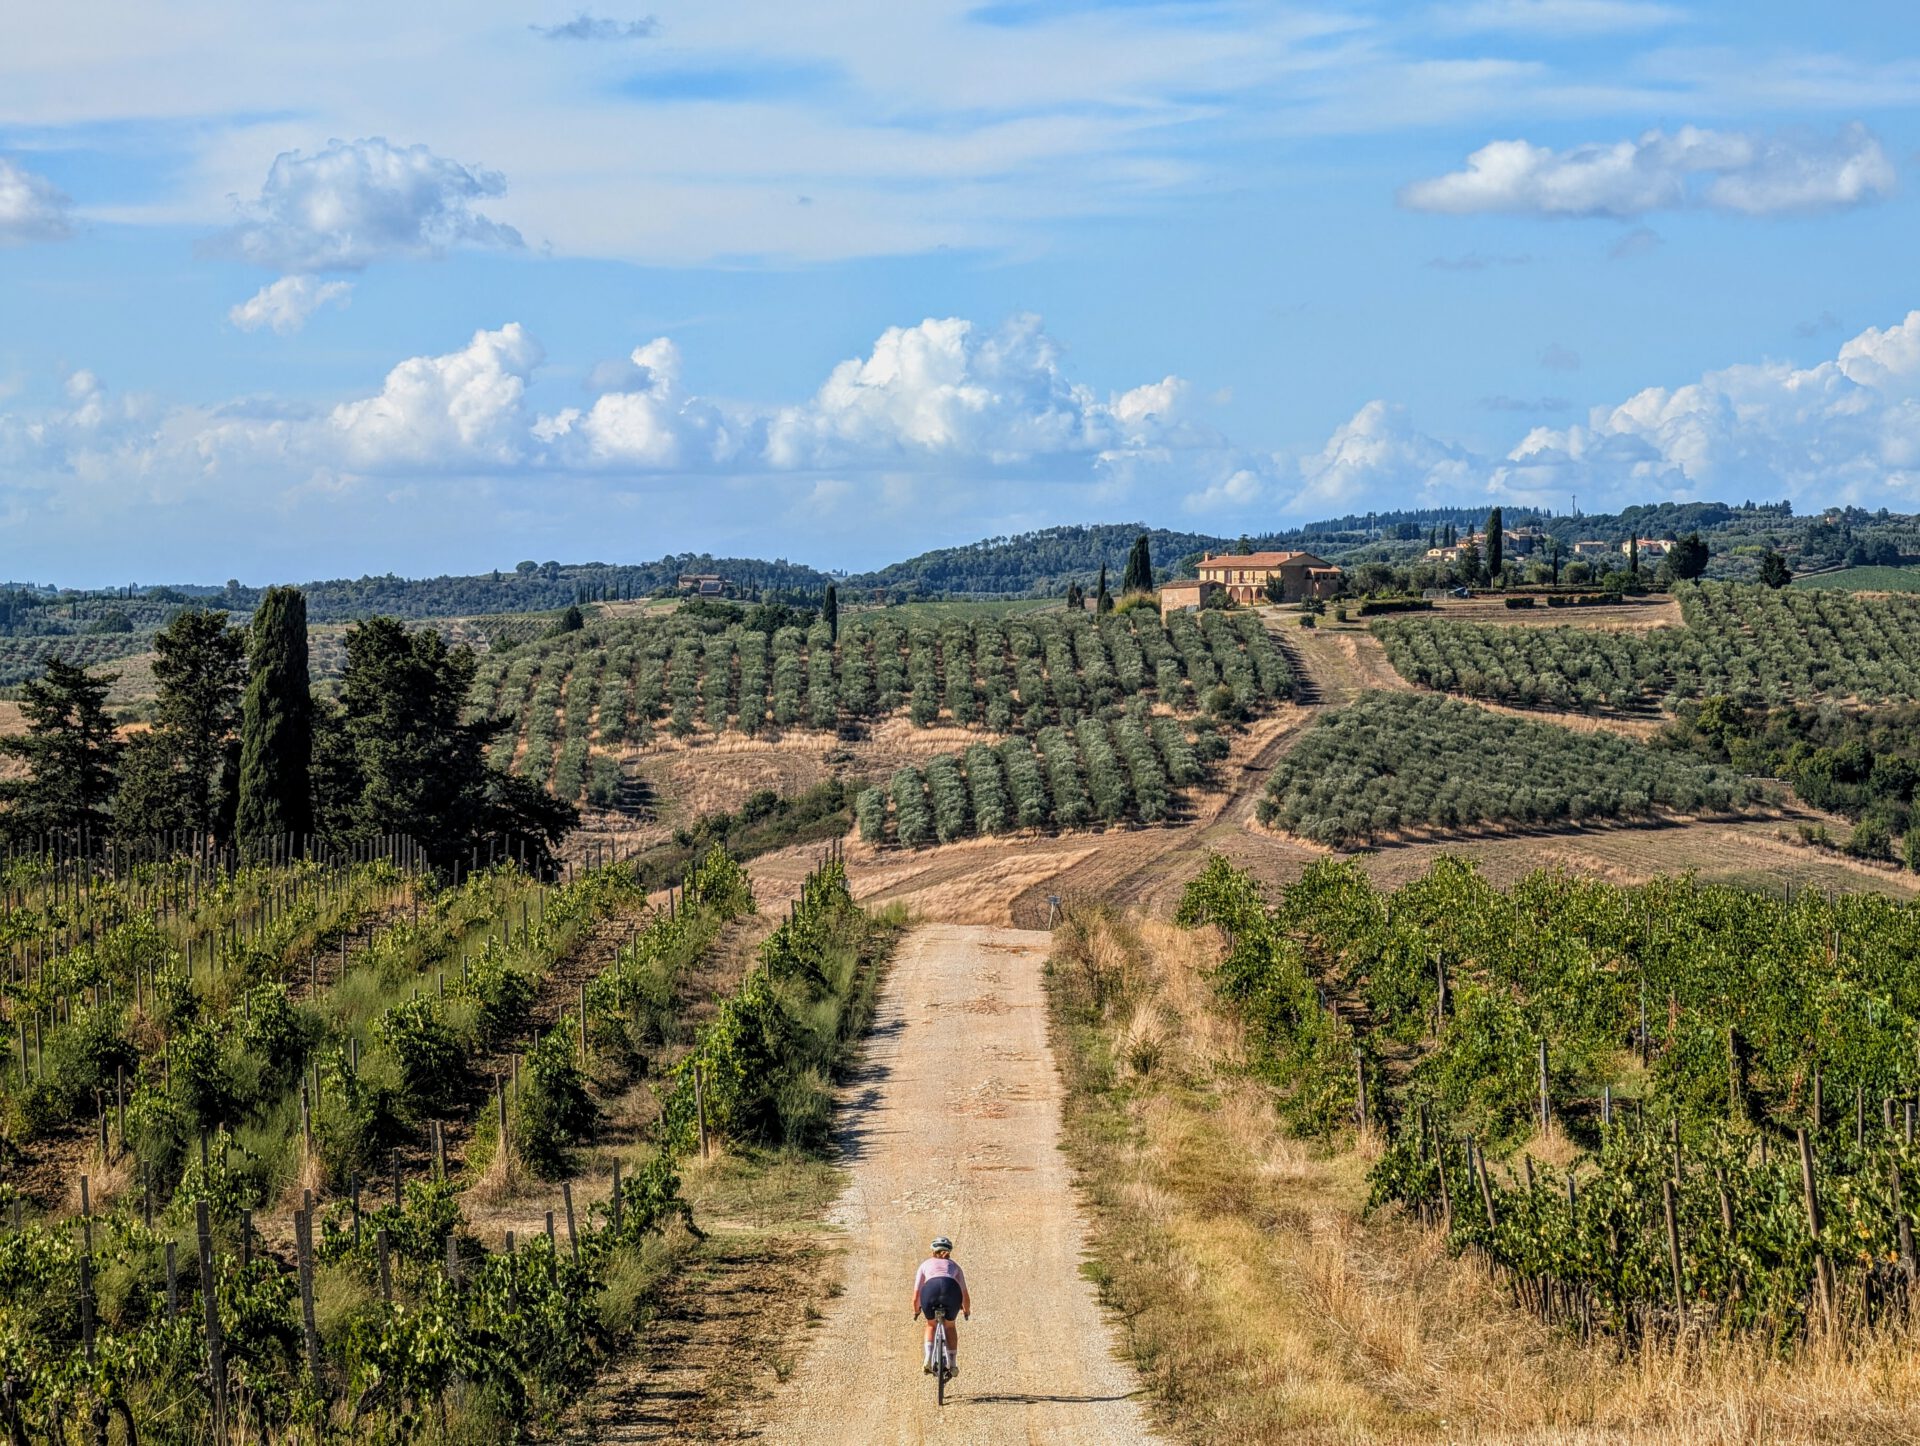
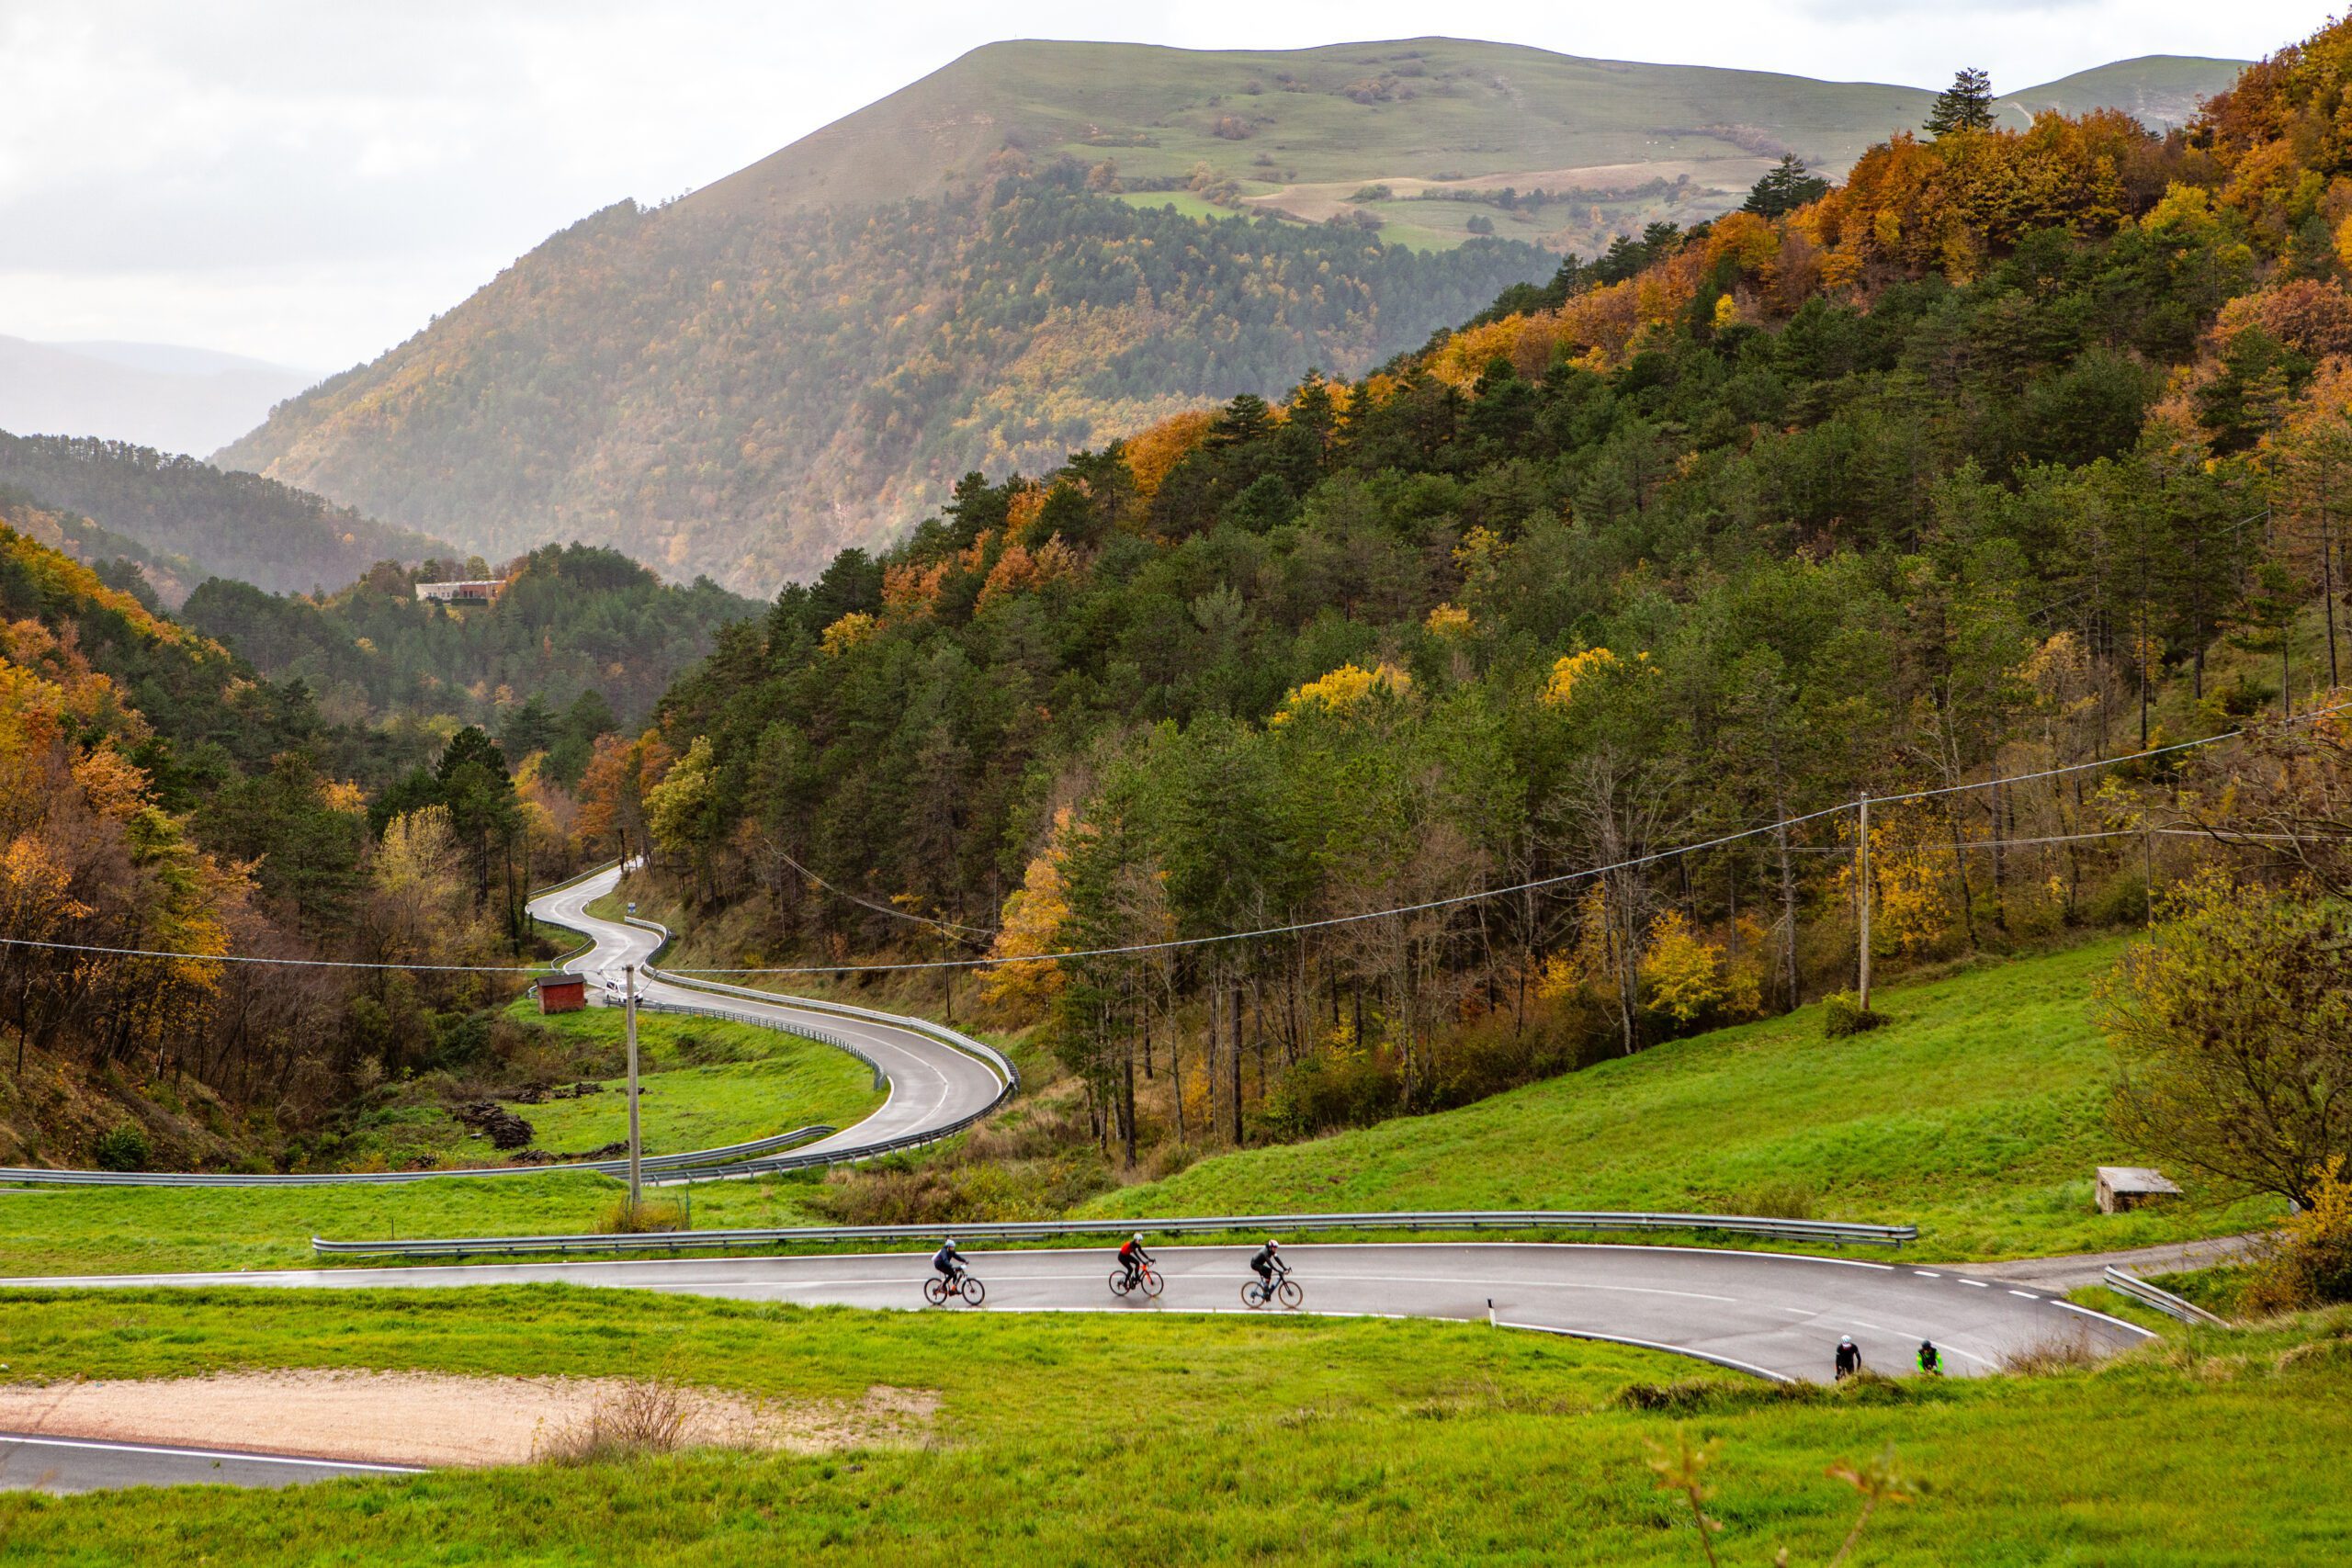
4. Place your subject off-centre
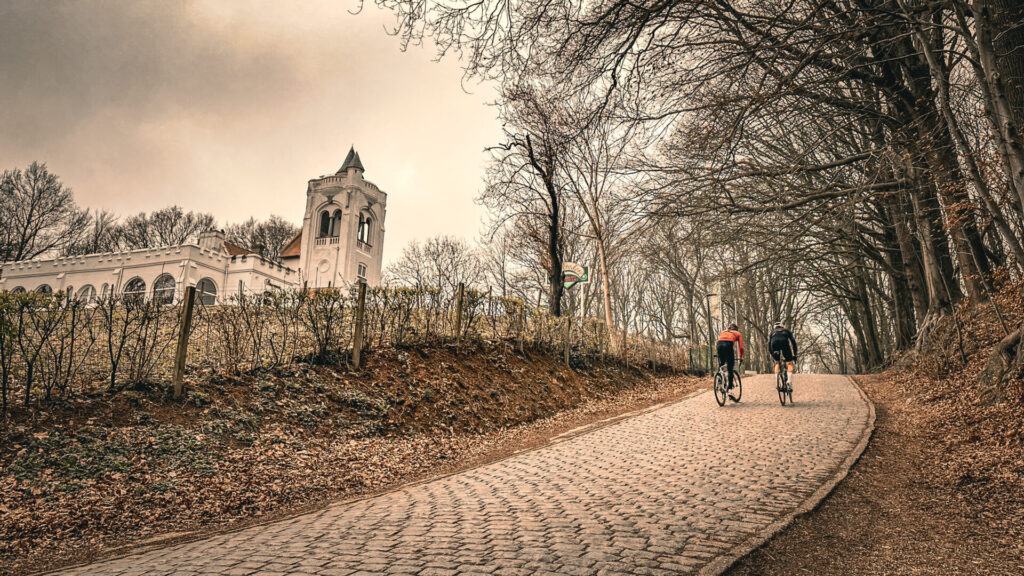
The classic 'mistake' of a holiday photo is to place the subject right in the middle. To make a photo a bit more 'exciting', it is best to place the subject at 1/3 of the photo. Those guide lines on your phone or on your camera are there for a reason. At least not centre-centre. You can also play with the lines on the road, as you can see below. Lines disappear into the corners (bottom) of the photo. That makes a photo exciting.
5. Post-processing
The difference between a nice photo and a great one is post-processing. There are so many ways to post-process a photo these days. Let's face it: it doesn't have to be extreme violent action. You can work with filters on Instagram, but it's more fun to play around a bit yourself. You can use photoshop's 'auto improve', lightroom or also Apple's Photos app. That really saves a lot already. After that, it's a matter of finding the right presets. What often helps is tinkering with saturation, contrast and exposure and you will soon have a better result.
6. BONUSTIP
If you ever think, "what is that term RAW for anyway?" then you should take a moment to remember this tip. In RAW format stores much more information and colour information from a photo than in JPEG format. Benefit? Photos with much more colour depth that also give much more options for editing. Of course, those photos also take up more space on your camera, but if you have the option: shoot in RAW and Lightroom will help you along!